


Hi there! It's Prince. In this article, I would be telling you about how I built Veldora, my entry for the Hashnode 1Password hackathon in 6 days but first, a little backstory.
Backstory

A long time ago, as a beginner in Frontend development, I got pretty good at HTML, CSS and JS and I wanted to build a portfolio. While building, I created the contact form. I began to wonder "how will I receive these messages?". All my plans came to a halt. I eventually learned about mailto (a way to send form data to an email address) but I wasn't comfortable with the redirection.
Then I found EmailJS but at the time it had a terrible UX so, I ended up never completing my portfolio because of these problems.

These problems led me to build...
Veldora ⚡⚡
Link 🔗 veldora.vercel.app
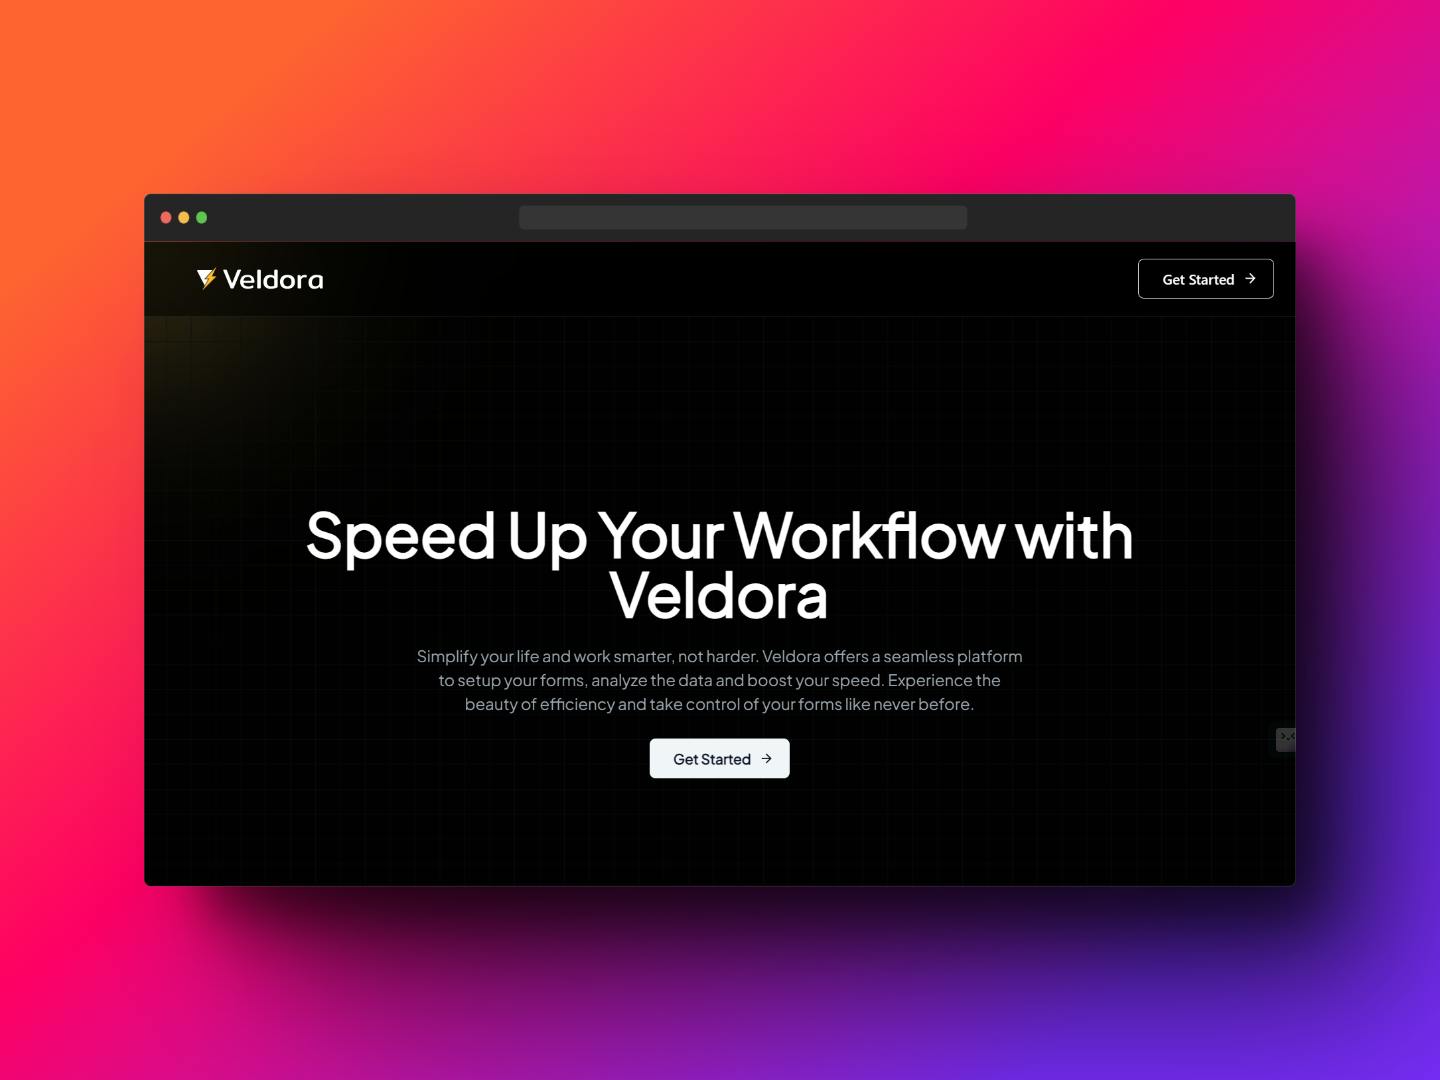
Veldora is a service that acts as a backend solution for small Projects including, Portfolios, Job Boards, Roadmaps, Todo Tasks etc. With Veldora, you don't need a backend, a content management system, or "mailto". You can just create a bucket, copy the link, and paste it into your form actions.
Veldora exists for people (like me) who want to make forms without worrying about how they work.
Link 🔗 veldora.vercel.app
Features 📜
🤩 Create and Manage up 10 different form buckets.
👨💼 Manage bucket entries
📊 Analytics - You can see tables and info about your forms
🔍 Search - Search your list of buckets with the title or the description. You're also able to search inside buckets for entries.
🍱 Filter - Set filter to show collections/entries that meet certain requirements. Sort collections/entries by most used, recent, and oldest.
📱 Responsive - It's mobile friendly and easy to use all round.
How to use
Onboarding video
Create an account:
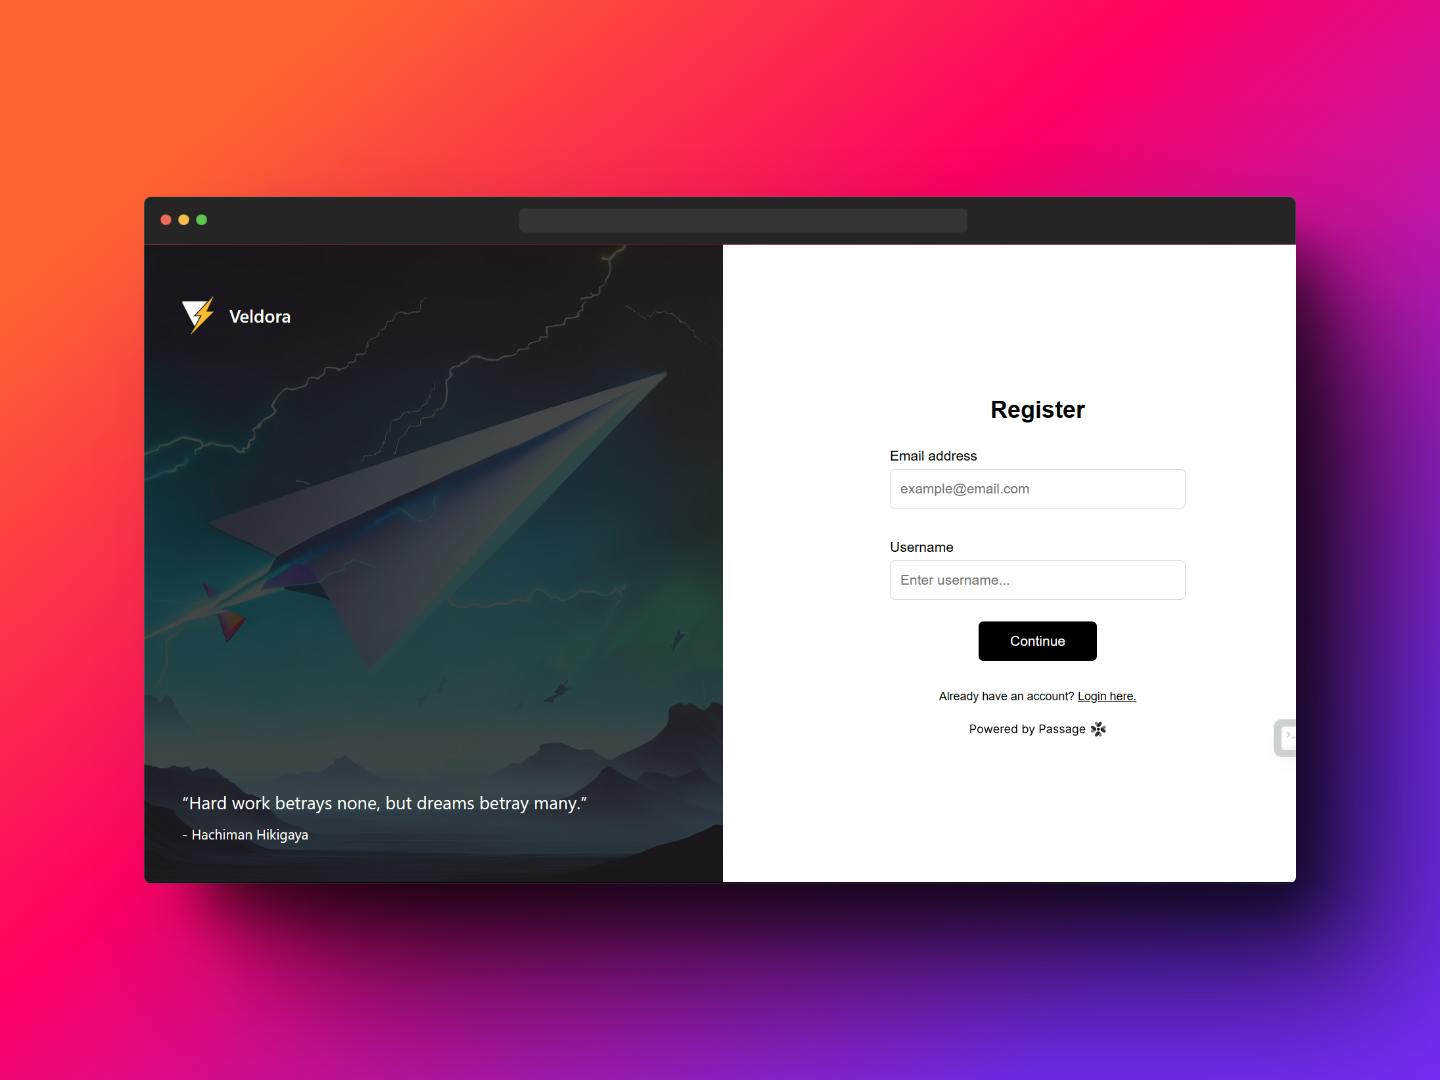
Veldora uses Passage for authentication so signing up is super easy!
Create a bucket:
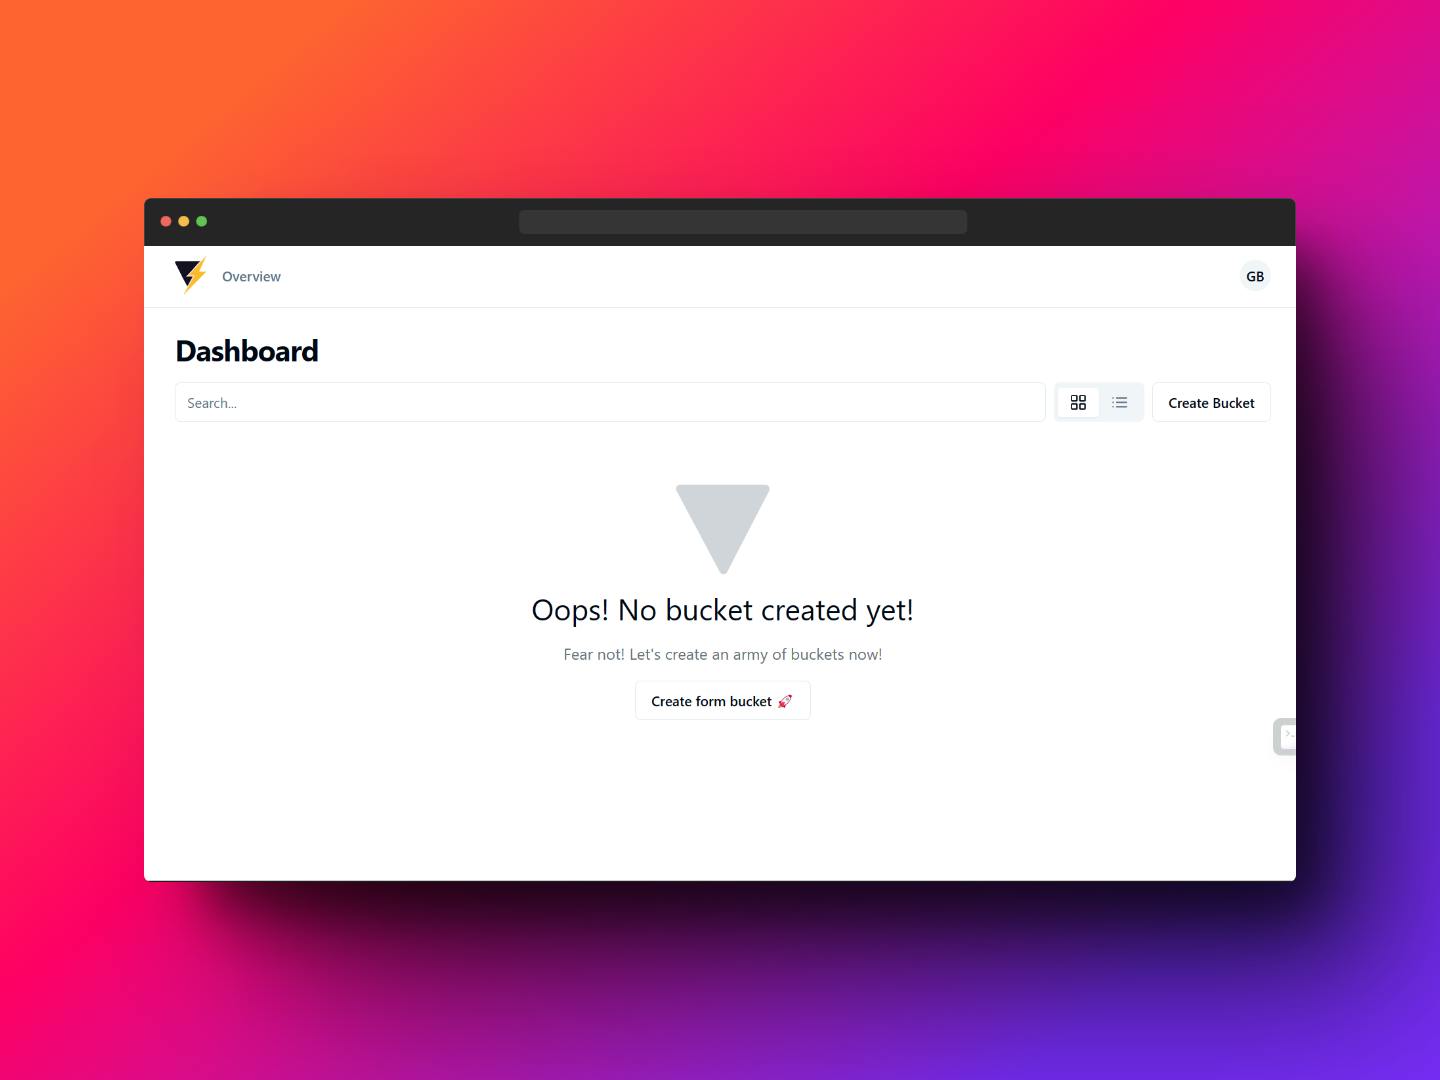
Click on the create bucket button and type in the name and description of your form bucket.
Copy your link:
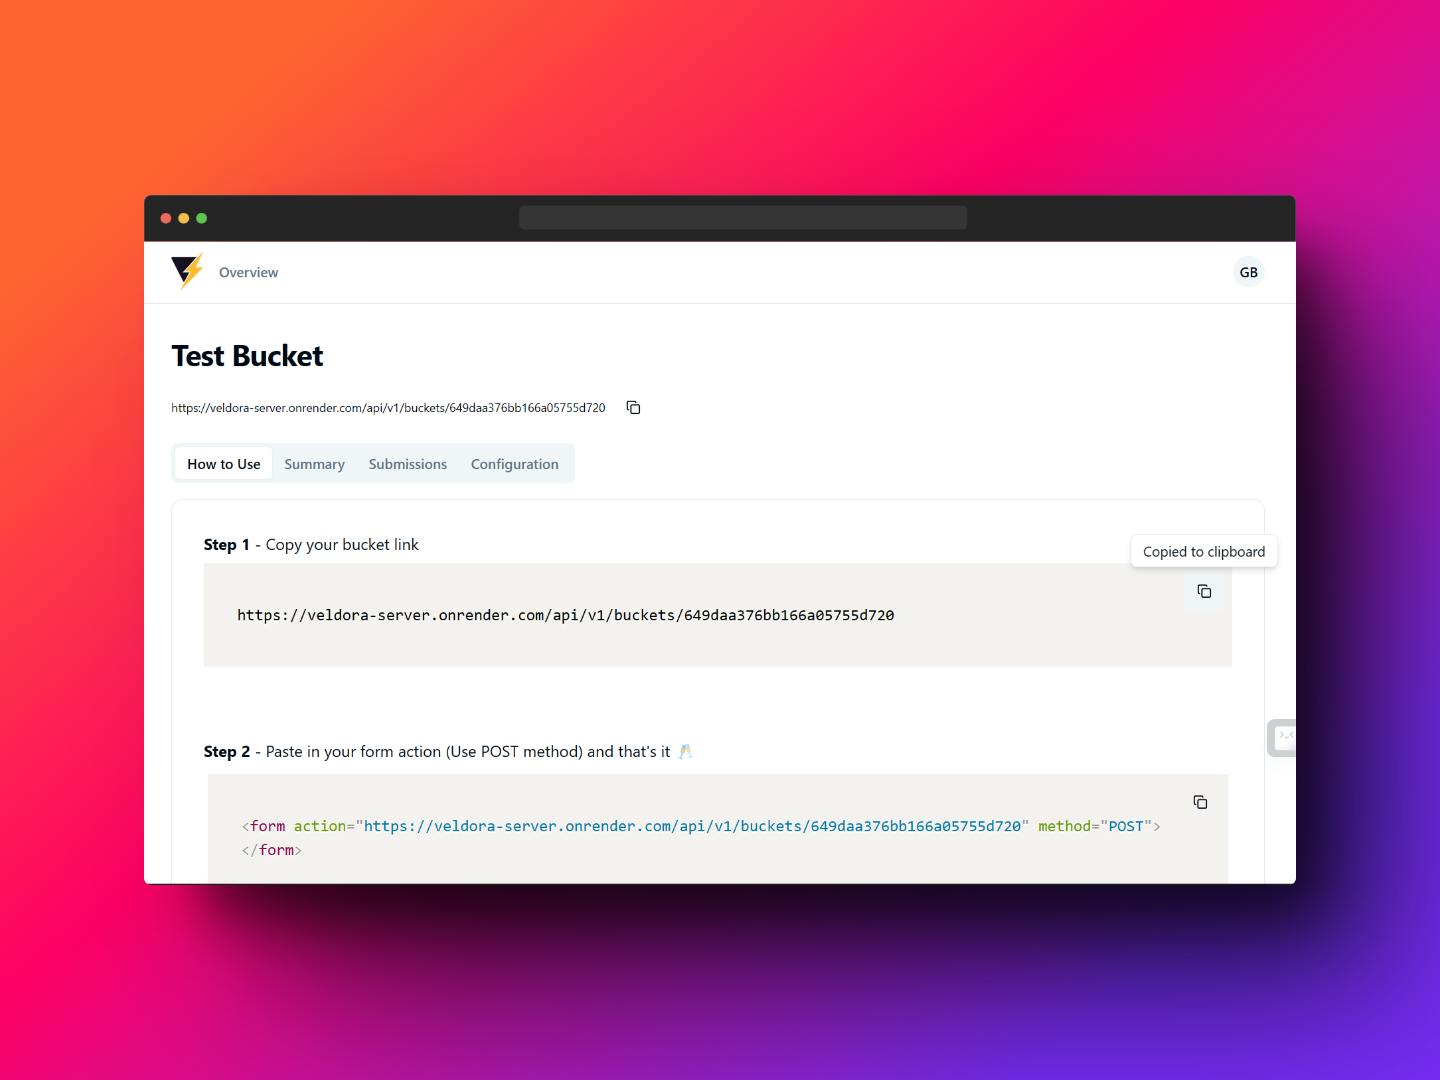
Your form bucket link would be displayed on the dashboard.
Copy the link.
Start Using 🚀🚀🚀
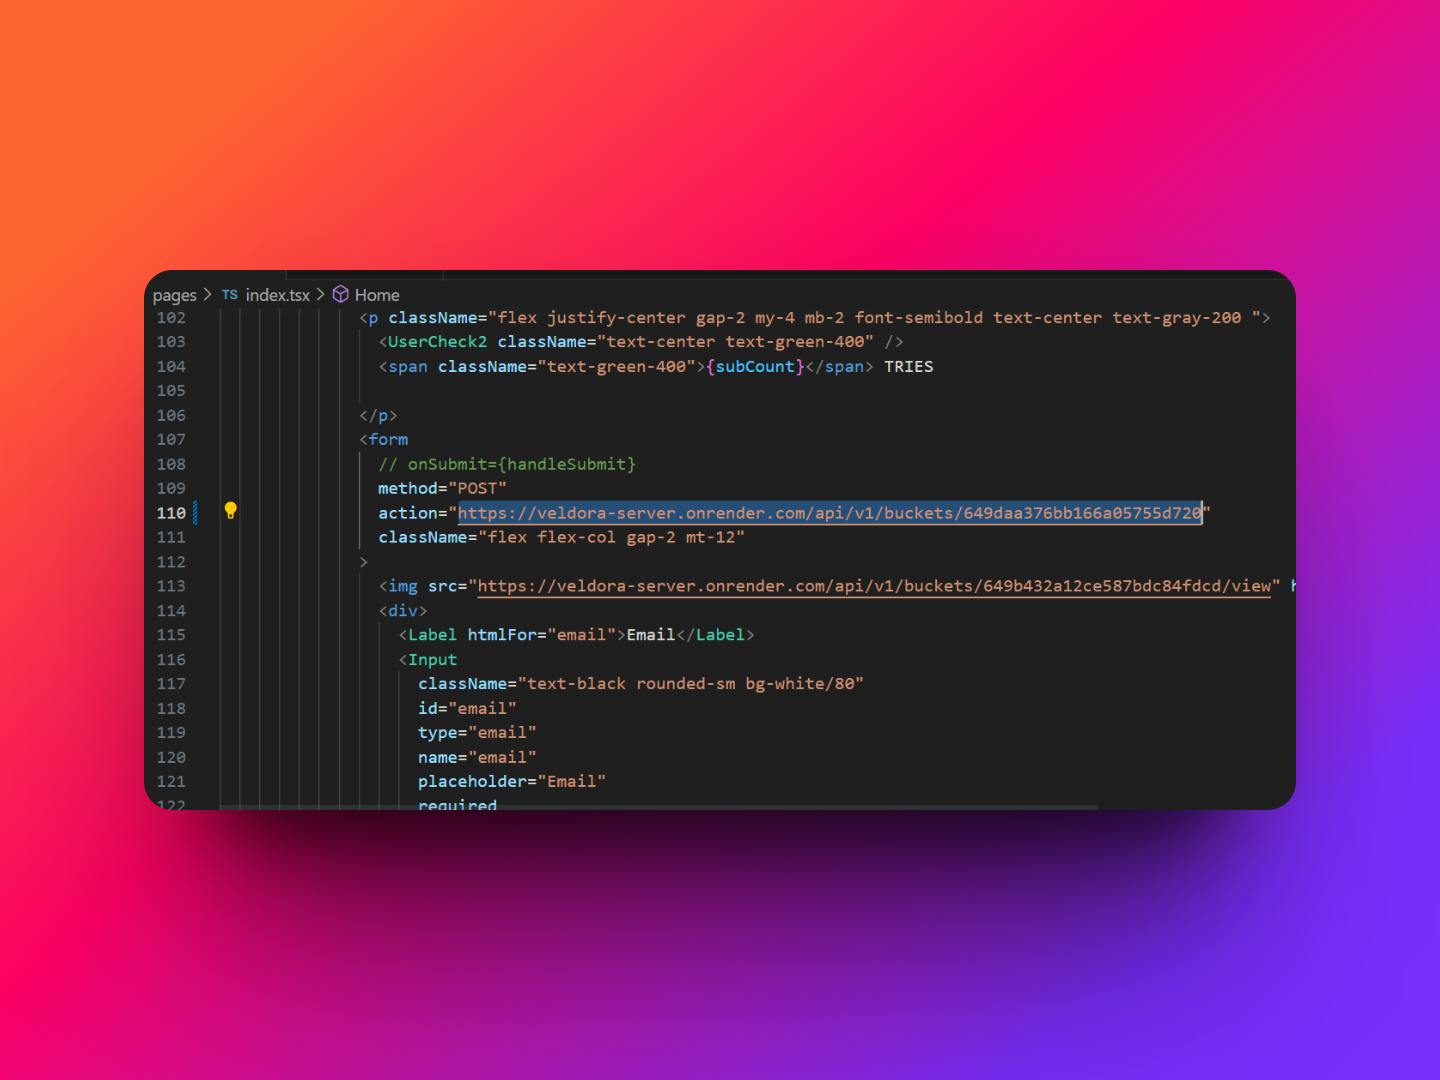
You can now paste this link into any form or mutation and start using 💯
Technology Stack and Tools 🛠️
These are the tools I used all together.
🎨 Design:
- Figma: For logo, Illustrations and UI design
🖥️ Frontend:
NextJS: A templating engine for creating dynamic content.
Tailwind: Makes writing CSS super easy.
React Query: For making all the requests
🗄️ Backend:
MongoDB: A simple, easy-to-use, yet powerful Database.
NodeJS: A JavaScript runtime environment.
Nest.js: A Node.js framework for scaffolding entreprise ready backend
Axios: A HTTP client for handling requests.
Passage: For seamless passwordless authentication.
I used Typescript all through the project.
The process
Day 1: The Journey begins 🏃♂️
I swiftly set up a very simple MVP of the backend with Nest.js. Created a very simple MVP (without Auth or Analytics).
The next challenge was HOSTING. I hadn't hosted Nest.js previously so, I just decided to try the usual Express solutions I use.
Cyclic.sh - I tried hosting on my go-to Node.js host, Cyclic.sh . Hosting Nest.js there didn't go too well. I kept getting a cryptic error I couldn't solve and the clock was ticking.
I had to bid cyclic farewell and, move on.
Railway.app - It worked but, it was far too limited
Render.com - Eventually, I went for render.com. Not as impressive as cyclic but, it got the job done.
Day 2: Cooking the frontend 🍳
With the backend done (in a way), I needed to get the most important part out of the way (the web app). Next.js, create-tw(for setup), Tailwind (for the styling), React Query (for queries and mutations)

With these four elements, I forged the veldora interface.
Day 3: Connecting the Dots 🔗
With most of the frontend UI done, The time had come to weave together the front end and the API and began to implement passage auth. The implementation for Nest.js wasn't clear, so I spent a lot of hours debugging it. Follow me, as I would be writing on how to set up Passage with Nest.js soon to enable others to do it more swiftly.
Day 4: The Shield of Authentication 🛡️
After setting up Passage, I started implementing features that relied on secure user authentication, including settings, login, and formidable route guards on the backend.
Day 5: The Grand Finale 🏁
Finally, Veldora MVP was complete, I headed over to Figma to create a few logos, and designs and created the landing page.
I hosted the front end on Vercel and then, sent out the link to a few people for testing.
Day 6: Peace and Quiet 🥂

I spent the last day, fixing bugs from the testing and writing this article. The resounding success of Veldora among our testers has already begun to shape their workflows, reaffirming the profound impact our efforts have had. The journey has been nothing short of rewarding and fulfilling.
What's next?
With time, I plan to implement the following features:
Deactivate: Disable buckets to stop receiving submissions
Notifications: Update of submissions sent directly to your email address.
Themes: Not just light and dark mode.
Workspaces: Users would be able to collaborate on a bucket.
Integrations: API connections and other integrations like Zapier.
Indexing and complex search
Contributing
I love working with awesome developers so Pull Requests are always welcome.
Conclusion
I enjoyed every single bit of building this app, from the errors to the breakthroughs. I learned a lot about how Nestjs works, more about Passage and passwordless authentication. I sincerely thank Hashnode and 1Password. for making me finish this and not leave it as an abandoned idea.
Links
Veldora App: Veldora
Frontend Github: princecodes247/veldora--client (github.com)
Backend Github: princecodes247/veldora-server (github.com)
Vlog Tiktok: https://www.tiktok.com/@princecodes24/video/7249264796556709126?_op=1&_r=1&_t=8da5KqLZs85